Skip to content

nightstand facelift

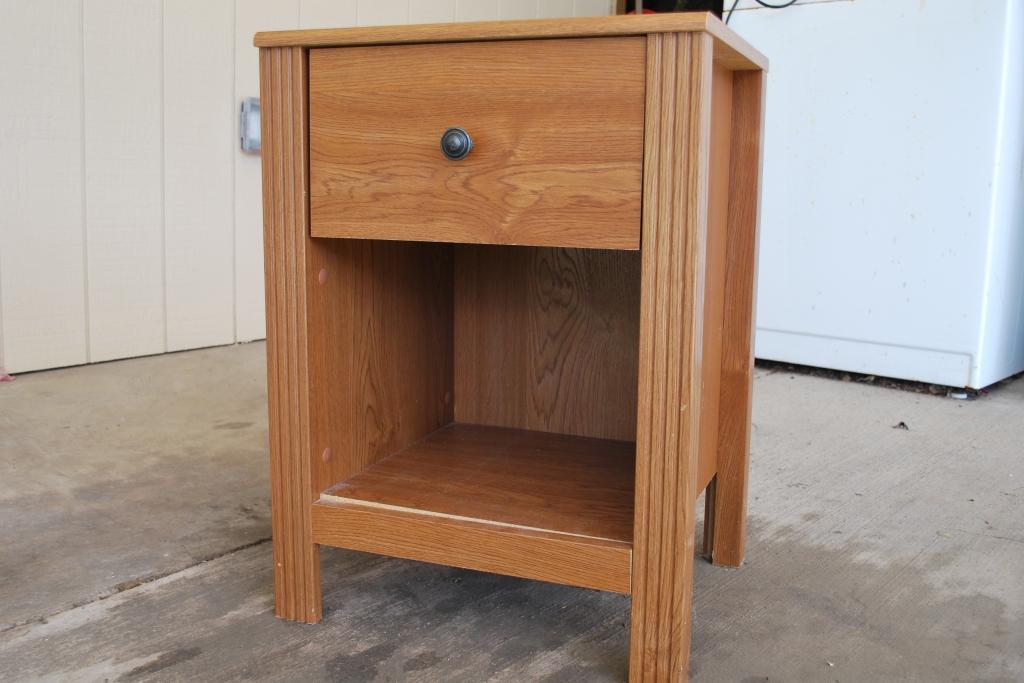
When we were getting the Hideaway ready to rent out, one of the major necessities on our list was a set (matching or not) of nightstands for the master bedroom. After scouring Craigslist and thrift stores for some rehab-able nightstands, we stumbled upon Inter-Island Hotel Furniture. When hotels renovate, the old stuff gets sent here, where you can buy it for pretty amazing prices. If you’re into DIY, it’s an awesome resource. Hotel furniture may not always be the most stylish, but for the most part, it’s built to last. So with a sander and some new hardware, paint, or stain, you can create some really interesting pieces for your home.

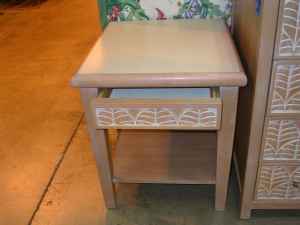
The nightstands we picked were fresh from the Hilton Hawaiian Village, which has been renovating one of its buildings. The pair were in great shape but just needed some TLC to look fresh and match the decor at the Hideaway. I had planned to stain the tops dark walnut and paint the bottoms and the legs (just like I’d been planning for the coffee table). But these nightstands had other plans for me, as the top inset panel wasn’t wood at all, but some kind of “marbleized” vinyl laminate (again, so similar to my discovery with the coffee table!).

old-nightstand

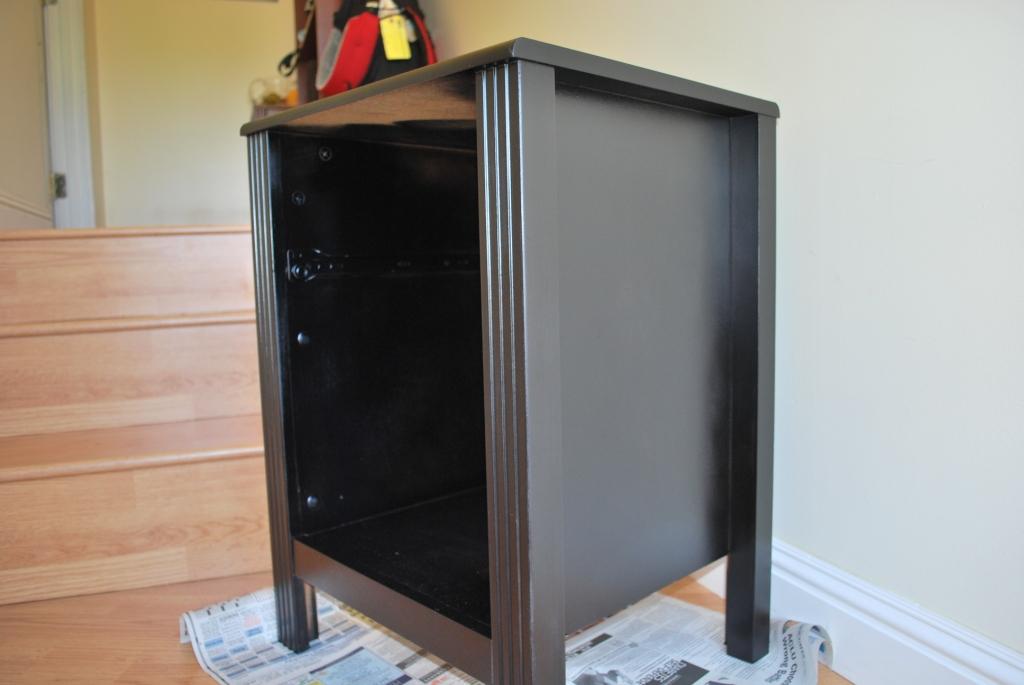
So…Swiss Coffee to the rescue. I’ve been using this off-the-shelf Behr paint for most of the projects around the house, and it’s perfect for the breezy island cottage look that we’ve been going for (it also doesn’t hurt that I have a whole gallon laying around just waiting to be used up). It’s just slightly off-white, so it’s crisp without being blindingly bright.

I cleaned the pieces, lightly sanded, and primed with a coat of Zinsser BIN. As with the other pieces I’ve done recently, I applied 3 coats of the paint with a little sanding between coats for a perfectly smooth finish. For the paint, I used a foam roller for the flat surfaces and a small, high-quality craft brush for the details.

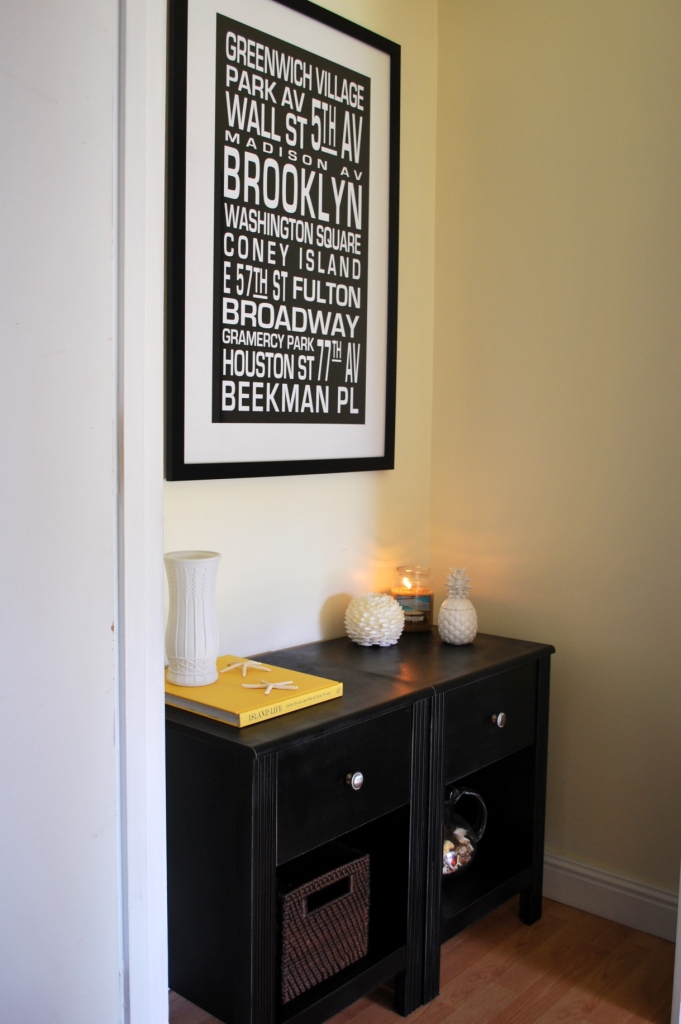
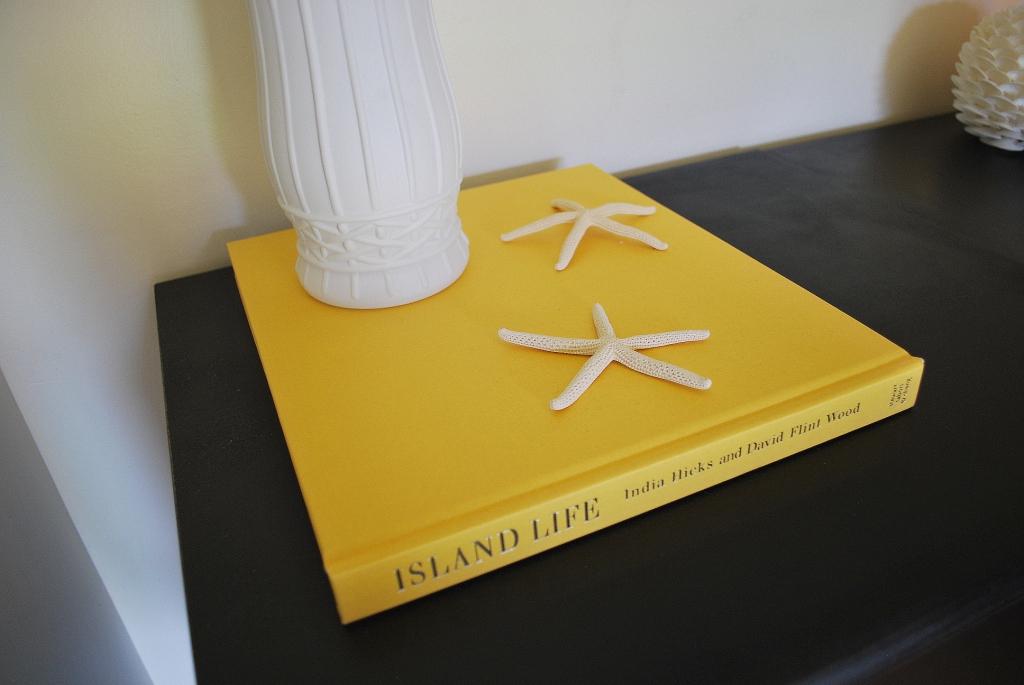
Here’s one of the nightstands all done, stocked up with a few beach reads and topped with a ridiculous tropical lamp that the owner brought over. Hey, it’s Hawaii. Ridiculous tropical lamps are a-ok in a vacation rental over here.

DSC_0687

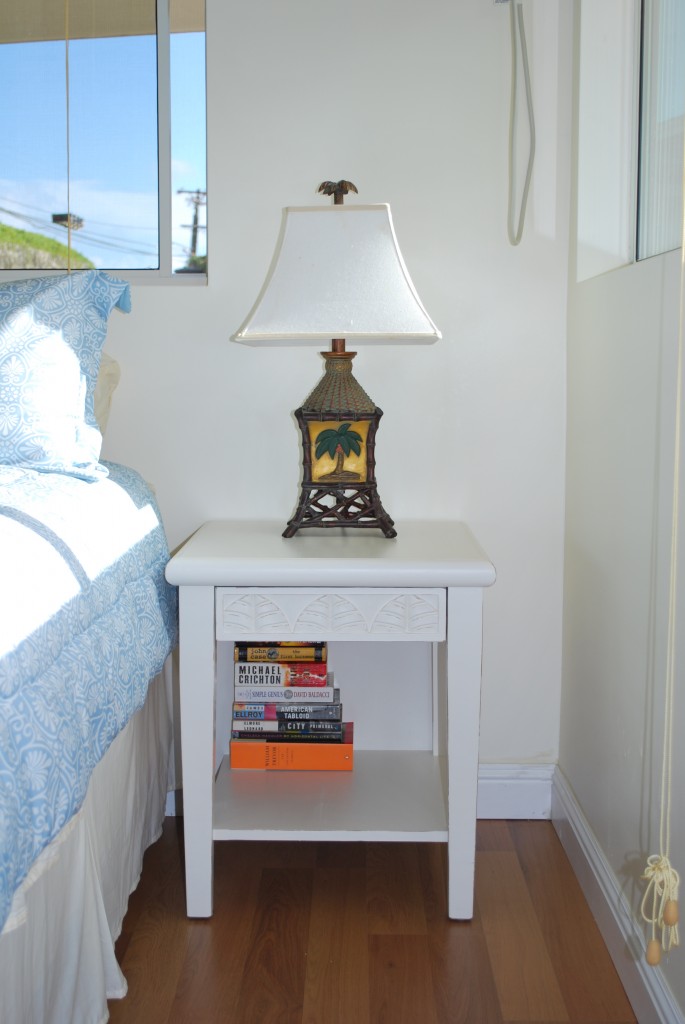
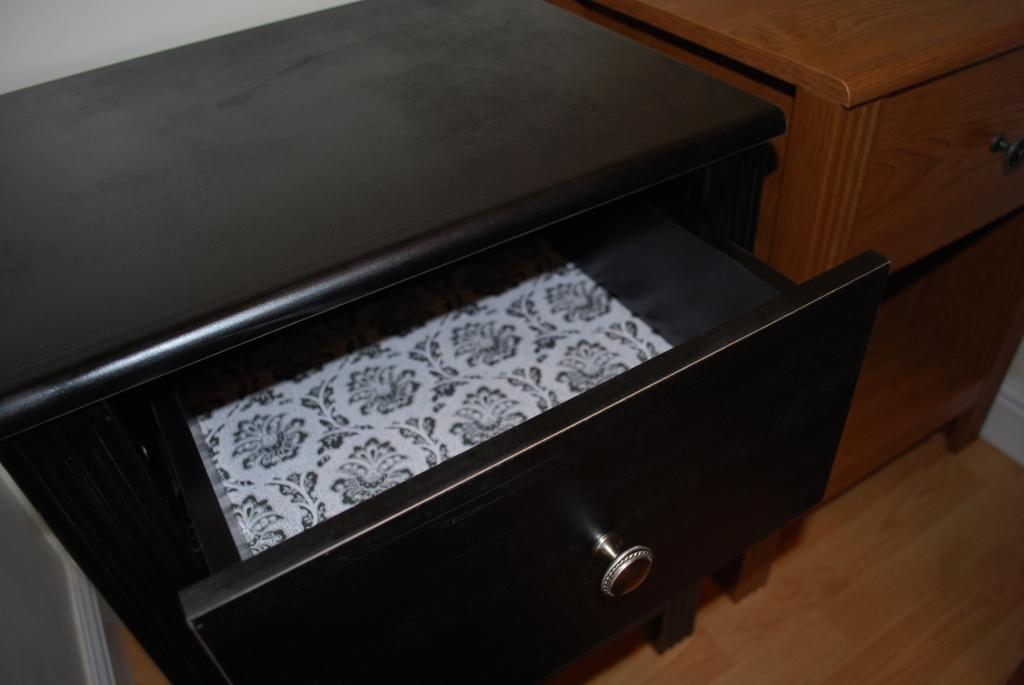
I lightly distressed all the edges by hand to coordinate with the refinished laminate dresser that lives in this room. The sanding really helped bring out the leaf pattern on the drawers:

DSC_0682

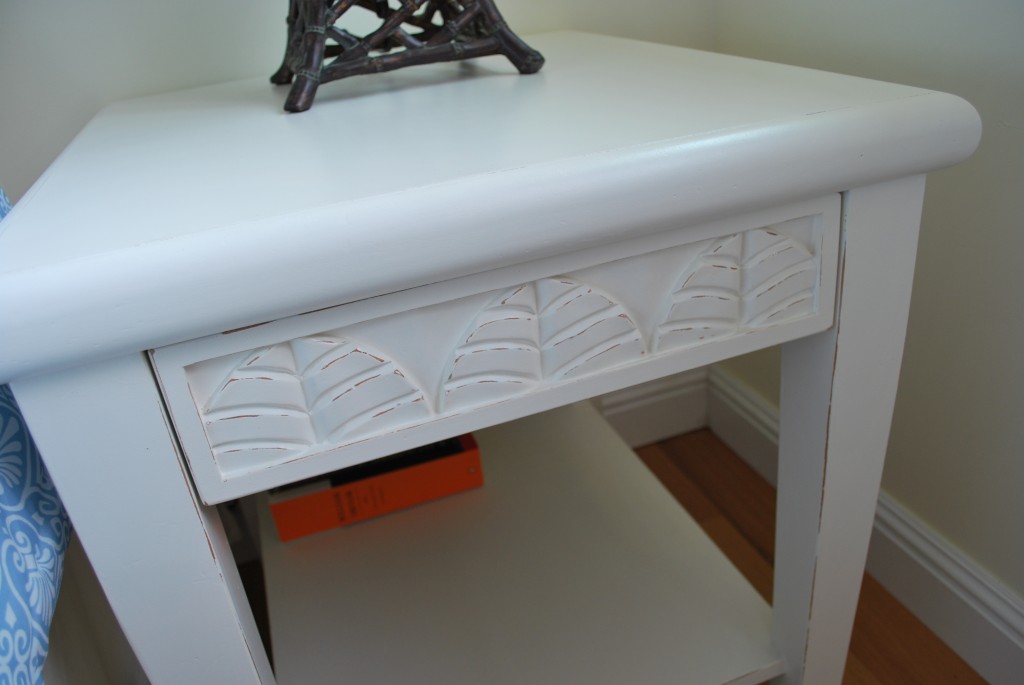
I finished the pieces with a coat of Minwax Polycrylic in Satin (with a second coat on the top panel for extra protection). Everything came out totally smooth and uniform — you’d never know that the ugly vinyl top panel was ever any different than the rest of the nightstand. Love ’em!

transforming laminate tables with spray paint

Back when John and I had just started dating, his house was basically a bachelor pad begging for paint…and decor…and furniture. These two little particleboard and laminate tables had been left in the house by the previous tenants (they were probably bedside tables), and John was using them in his office as extra storage. One had an old printer on top, and I think the other one was used to store golf balls. When we revamped the office, we emptied them out and attempted to unload them on Craigslist…which didn’t work. No one wanted these sad tables! So, like the office bookcase we revamped, we decided to hang on to them and give them a spray paint makeover.

These tables were in worse shape than the photo below would have you know. The tops were covered in drink rings and the laminate was bubbling, there were splinters chipping off the legs, and several spots were just falling apart and needed some serious gluing.

Entryway-Tables_Before-1

This was not only my first time working with laminate, but my first time painting furniture at all (the only other piece we’d done at that point was John’s old coffee table, which we stained a dark espresso). At the time, I had no knowledge of the miracle that is Zinsser BIN primer, and I thought that I’d need to sand off almost all the laminate to get the paint to stick! Ha. Total paint virgin. Had I known what I know today, I would have just given them a quick sanding to rough up the finish and smooth out any nicks, coated them with BIN, and then spray painted (read about another laminate project of mine, properly done with primer, here).

So I worked way too hard with the electric sander, and then picked up a few cans of Rustoleum Universal spray paint in Satin Black (a quick Google search convinced me that it would cover just about anything…in fact, it was this very Google search that introduced me to Young House Love, which has become my DIY bible).

Some wood glue and a couple of coats of spray paint, and I was pretty pleased with myself:

Entry-Tables_During_Compressed

I wanted the tables to look a little more rustic, so I hand-sanded the edges to distress them a bit, then finished them by adding rope-patterned brushed nickel hardware and lining the drawers with pretty scented paper.

Entryway-Tables_After_Drawers

I placed the tables next to each other to create a little entryway console, where we now store our resusable grocery bags, extension cords, flashlights, etc. (The bookcase that we made over sits nearby, on an adjoining wall in our entry hallway). The print above the tables is from Z Gallerie; I wanted something that would cover the generously-sized breaker box eyesore on the wall. And even though we live in Hawaii, we like to honor our Brooklyn roots. :)

Entry-Tables_After_1_Compressed

I styled the tables with some beachy accessories, a storage basket, and a cheap-o Goodwill vase that I transformed with flat white spray paint (LOVE doing this! So easy and makes anything look clean and crisp).

Entry-Tables_After_Detail-1_Compressed

The whole project cost us only $28; 3 cans of spray paint for $21, and $7 for the hardware. Everything else we had in the house. I never thought I’d be happy to keep these tables, but you’d never get a hint of their hideous beginnings by looking at them now!

in the kitchen: papaya slaw with lime and mint

I have no idea where the inspiration came from for this papaya slaw. One day I just woke up and decided I wanted some. However, papaya slaw calls for green (aka underripe) papaya, otherwise the pieces will just be a soft mess. Having limited experience with papayas, I dragged John to three grocery stores looking for a display marked “green papayas.” Uhhh…not my smartest moment. I finally realized that THEY’RE ALL GREEN and I should just look for one that’s not ripe

So here are my tips: pick one that’s as green as possible, with no yellow on the skin (it gets yellower as it ripens). It should be firm all over — no soft spots. Use it right away! If you let it sit at home it’ll ripen, and while it’ll be delicious for breakfast, it’ll make a terrible slaw.

The papaya I finally settled on was as big as my face.

Papaya-Face-Compressed

For this slaw recipe, we just used the one mammoth papaya since it yielded a huge bowl of flesh. After removing the skin with a vegetable peeler, we cut it open and assessed what was inside:

Papaya-1_Compressed

Not as underripe as I was expecting, but it would do. While the center was turning orange, all the flesh was still firm and not yet too sweet. If you cut yours open and it’s bright orange, juicy and sweet, it probably won’t make for the best slaw. Just eat it with a spoon and pick another one (green all over, and very firm) for your slaw.

John used a mandoline to julienne the papaya, then we made a dressing with white wine vinegar, Maui onion, lime juice, and papaya seeds. The seeds give the dressing a light peppery flavor…yum. And we love vinegar — we’re coming dangerously close to flat-out drinking salad dressing — so we really loaded ours up. Depending on what you like, you might want to start with less vinegar and adjust as you go.

Papaya-Slaw-2-Compressed

Papaya Slaw with Lime and Mint
Serves 4-6

2 medium papayas, or 1 gigantic papaya
1-2 tbs mint leaves, finely chopped
juice of 2 limes
1/2 c white wine or champagne vinegar
1/2 c sweet onion, chopped (we like Maui onions)
3 tbs papaya seeds
1 tsp honey
1/2 tsp dijon mustard
1/2 tsp crushed red pepper flakes
olive oil
salt

1. Using a vegetable peeler, peel the skin from the papaya. Use a mandoline to cut into julienne strips, or just use a really sharp knife and slice finely, to the size and shape of shoestring potatoes. But if you have a mandoline, that really works best!

2. Reserve the seeds. Clean and dry them, and pick through of any loose papaya flesh. You’ll use 2 tbs for the dressing…as for the others, well, you can plant your own papaya grove. :) We actually have four little baby papaya trees that we planted from seed!

3. Place the onion, vinegar, limes, honey, dijon, red pepper flakes, and 3 tbs of the seeds in a blender. Blend until smooth, streaming in the olive oil. I think I used about 1/4 cup; you want the dressing to be smooth, but not oily. Season to taste with a little salt.

4. Toss the papaya with the dressing and a tablespoon or two of fresh chopped mint leaves. (You may have some extra dressing, which would be delicious on a green salad.) Serve chilled.

Related Posts Plugin for WordPress, Blogger...