
overhauling the coffee table

This wood-and-tile coffee table had been in the apartment before we decided to turn it into a vacation rental, and had suffered some abuse at the hands of the previous tenants (not us!). We debated buying a new one or asking the owner to find one for us, but we both felt like it had some hidden potential…so I dragged it out into the carport and decided to get started on transforming it.
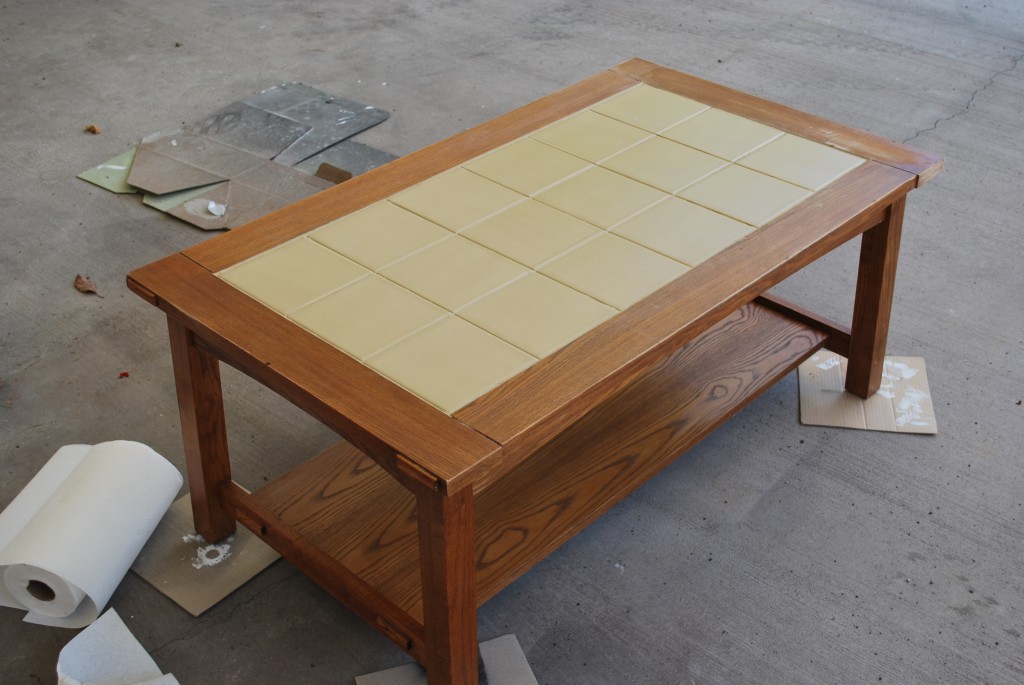

I had already started sanding here, to see what I could do with the cigarette burns and scratches. I had this grand plan to sand down all the wood surfaces and stain them a gorgeous dark walnut, and then paint the tile creamy white with a glossy finish. But alas…
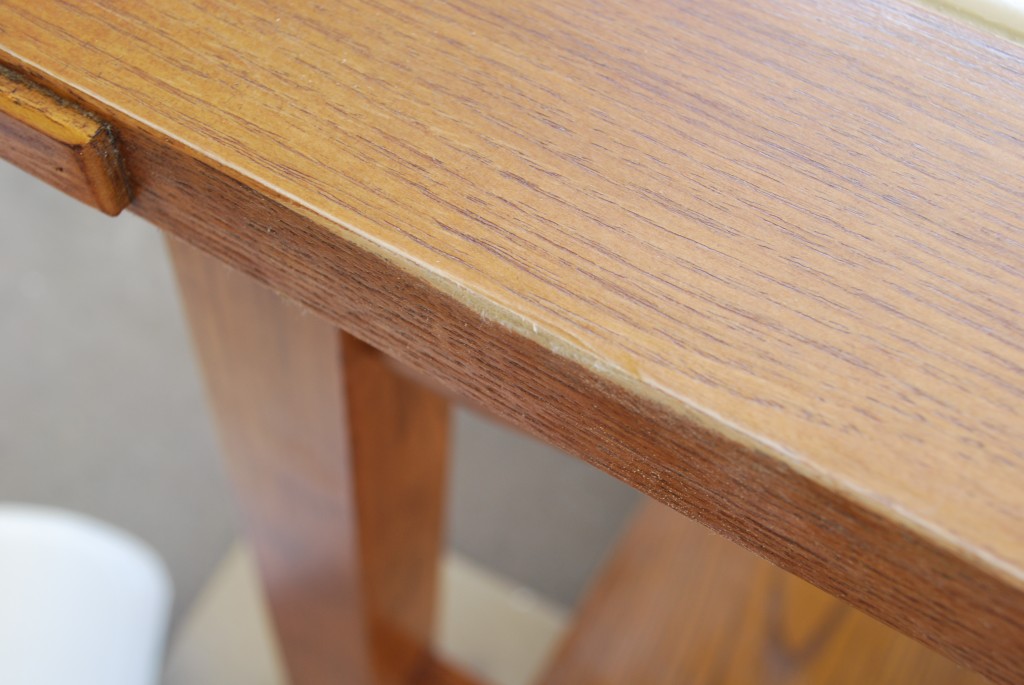
Oh snap! That’s either laminate, or the thinnest, crappiest veneer I’d ever seen. one quick pass with some sandpaper and it started coming right off. I was pretty surprised since the piece is super heavy…I wasn’t expecting hardwood, but there’s definitely real wood underneath so I was hoping for at least a decent layer of veneer. So much for the “dark walnut stain” plan. paint became the order of the day:
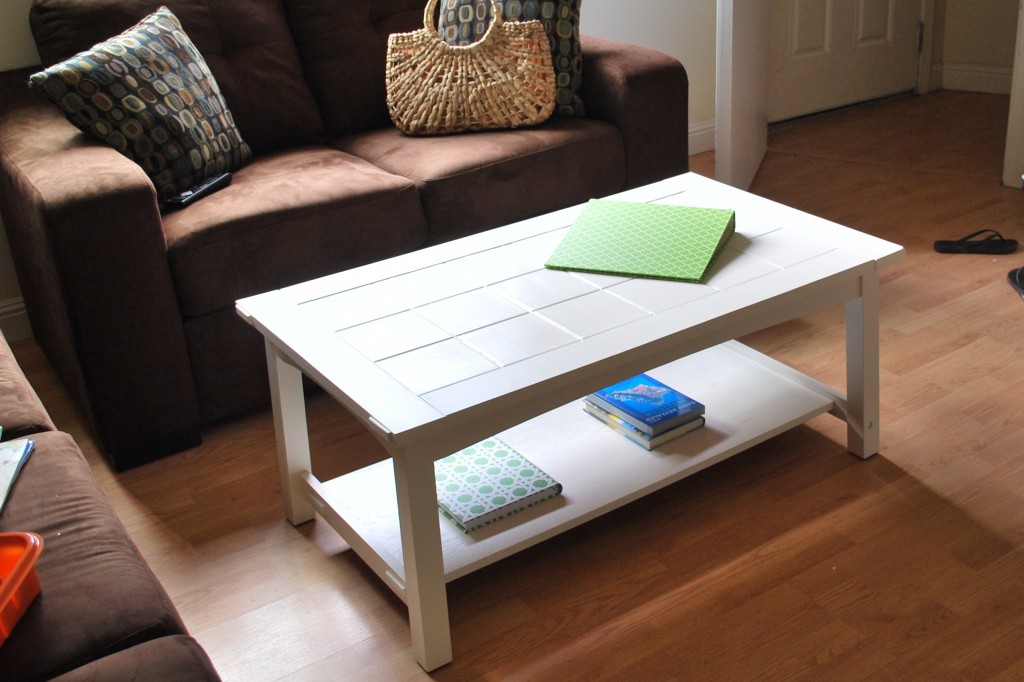
I used some of the same materials as I did for the old laminate dresser: Zinsser BIN primer and off-the-shelf Behr Swiss Coffee paint in a flat finish. 3 coats with a little light sanding in between and I was good to go. The tile, however…well, I was afraid. The “grout” turned out not to be grout at all, but caulk of an unidentified nature. I wasn’t sure how well the primer or paint would stick to it. Turned out it was just fine (and I’m pretty sure now that it was latex caulk). The key was just to apply super thin, even coats, let them dry thoroughly, and lightly sand in between coats with some 220 grit paper.
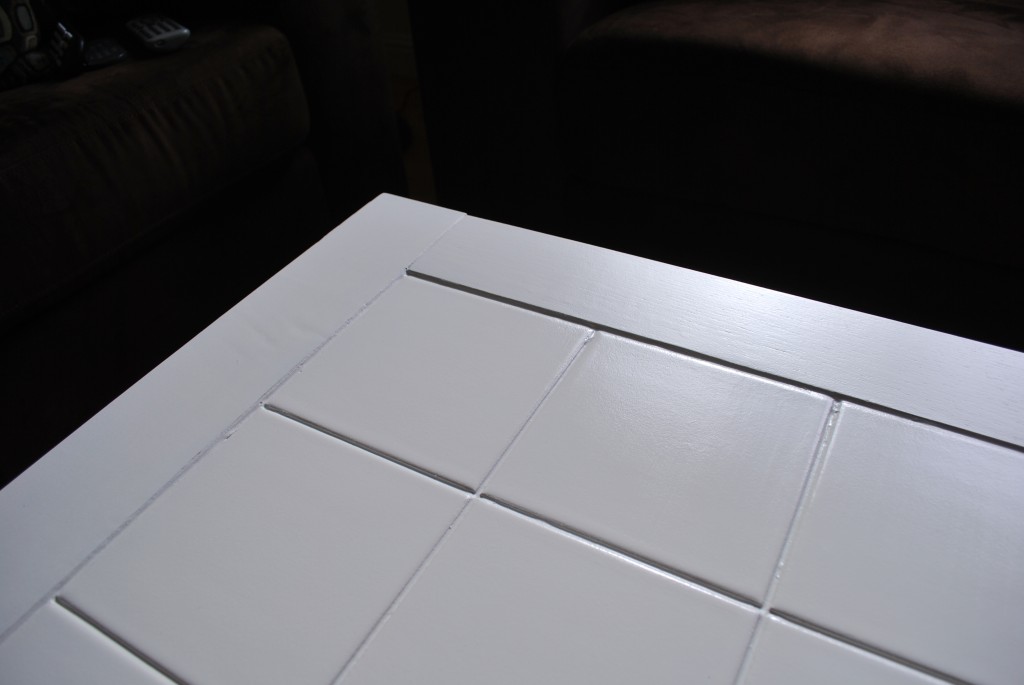
I sealed all the wood parts with a coat of Minwax Polycrylic in satin, with an second coat on the top surface for extra protection. As with the dresser, water-based poly instead of oil-based is pretty important…the oil-based kind can yellow over time and muck up that crisp finish. The tile section got 3 carefully applied coats of gloss Polycrylic – with a light sanding in between – since I wanted a contrasting, shinier finish. Although I was super scared that I’d leave huge brush marks in the poly and mess the whole thing up, the tiles actually came out incredibly smooth and glossy! It’s hard to see the level of shine in the pics, but it looks like “real” tile again and you’d never know that it was painted.
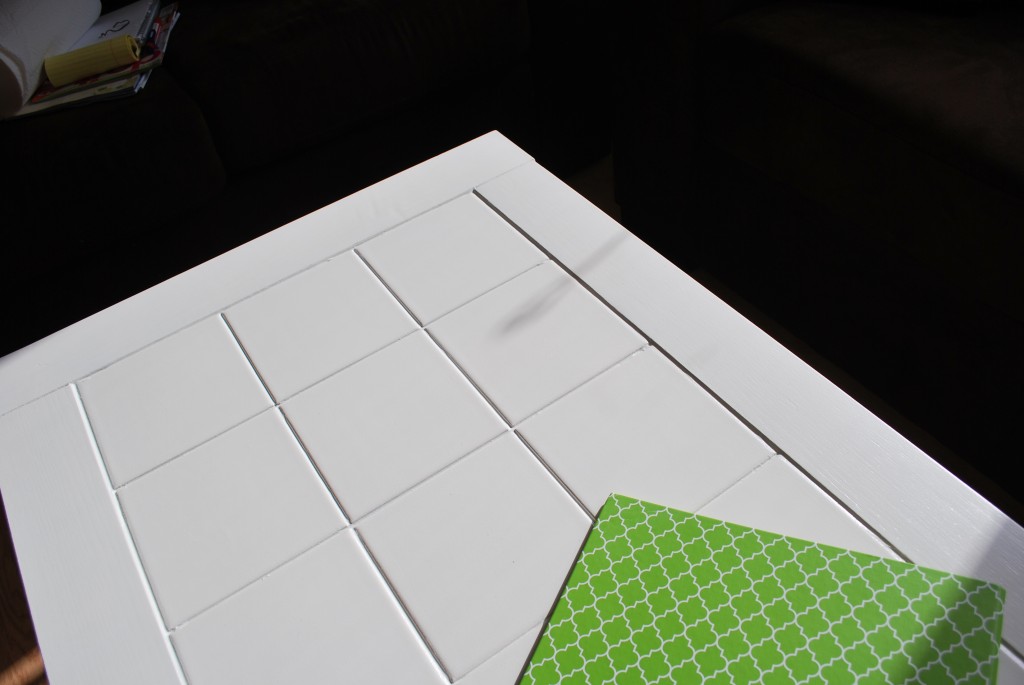
Plus the whole piece is now resistant to damage from water, spills and whatever else might get thrown at it. Love it!
Trackbacks & Pingbacks