transforming laminate tables with spray paint
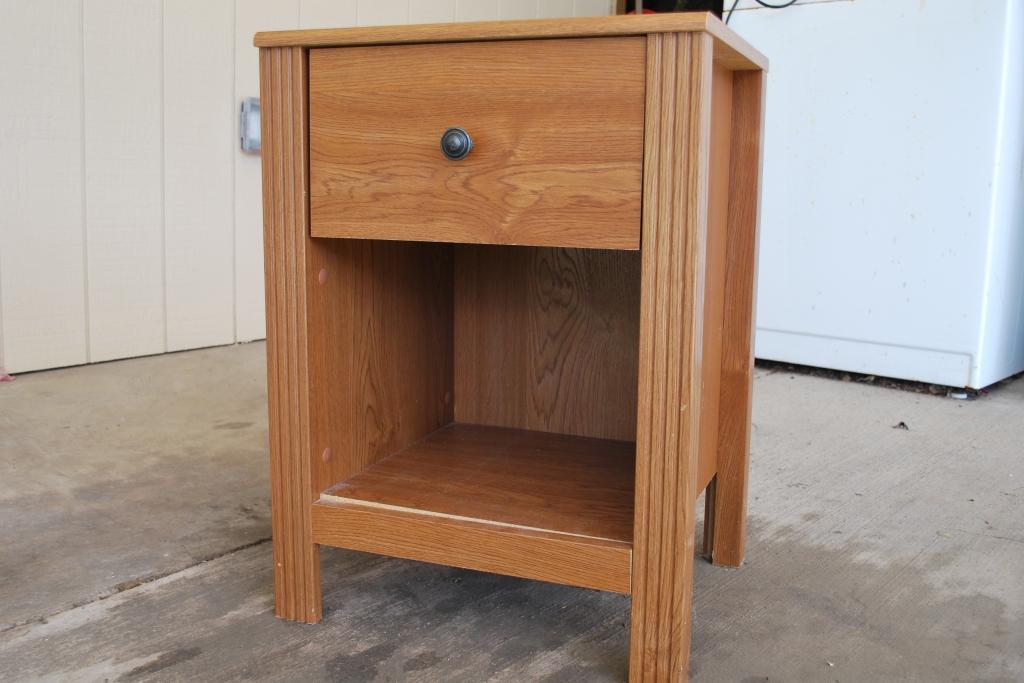
Back when John and I had just started dating, his house was basically a bachelor pad begging for paint…and decor…and furniture. These two little particleboard and laminate tables had been left in the house by the previous tenants (they were probably bedside tables), and John was using them in his office as extra storage. One had an old printer on top, and I think the other one was used to store golf balls. When we revamped the office, we emptied them out and attempted to unload them on Craigslist…which didn’t work. No one wanted these sad tables! So, like the office bookcase we revamped, we decided to hang on to them and give them a spray paint makeover.
These tables were in worse shape than the photo below would have you know. The tops were covered in drink rings and the laminate was bubbling, there were splinters chipping off the legs, and several spots were just falling apart and needed some serious gluing.
This was not only my first time working with laminate, but my first time painting furniture at all (the only other piece we’d done at that point was John’s old coffee table, which we stained a dark espresso). At the time, I had no knowledge of the miracle that is Zinsser BIN primer, and I thought that I’d need to sand off almost all the laminate to get the paint to stick! Ha. Total paint virgin. Had I known what I know today, I would have just given them a quick sanding to rough up the finish and smooth out any nicks, coated them with BIN, and then spray painted (read about another laminate project of mine, properly done with primer, here).
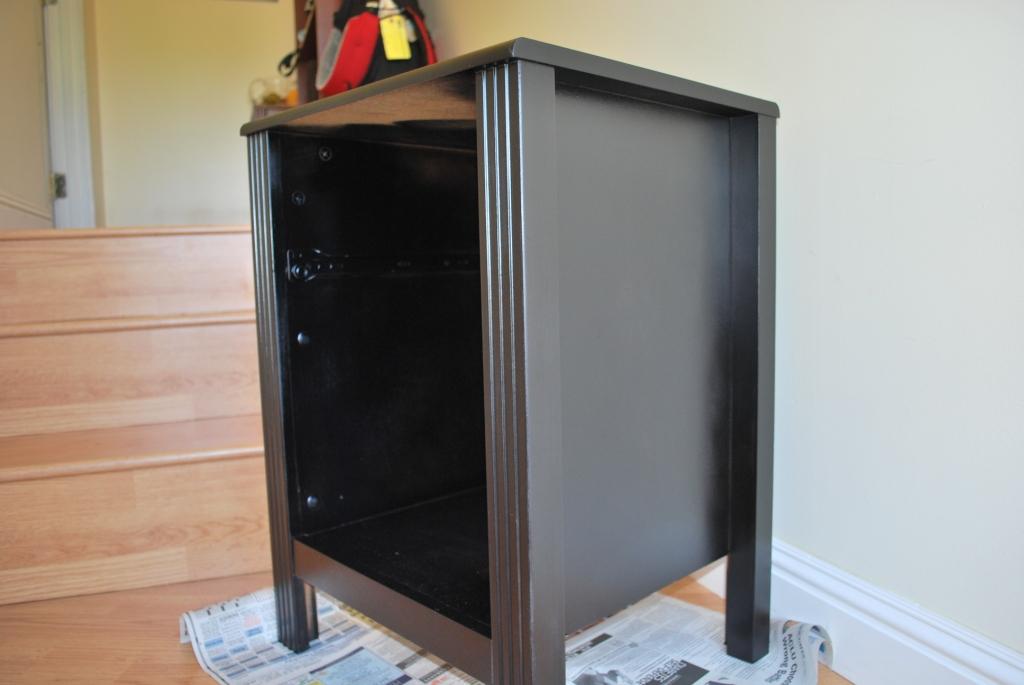
So I worked way too hard with the electric sander, and then picked up a few cans of Rustoleum Universal spray paint in Satin Black (a quick Google search convinced me that it would cover just about anything…in fact, it was this very Google search that introduced me to Young House Love, which has become my DIY bible).
Some wood glue and a couple of coats of spray paint, and I was pretty pleased with myself:
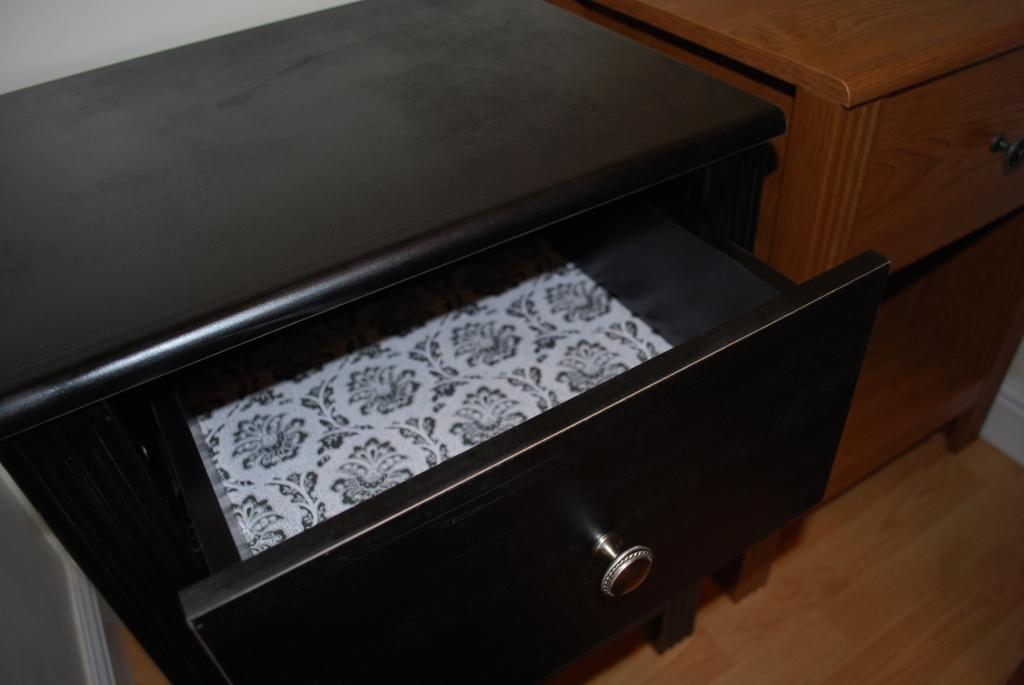
I wanted the tables to look a little more rustic, so I hand-sanded the edges to distress them a bit, then finished them by adding rope-patterned brushed nickel hardware and lining the drawers with pretty scented paper.
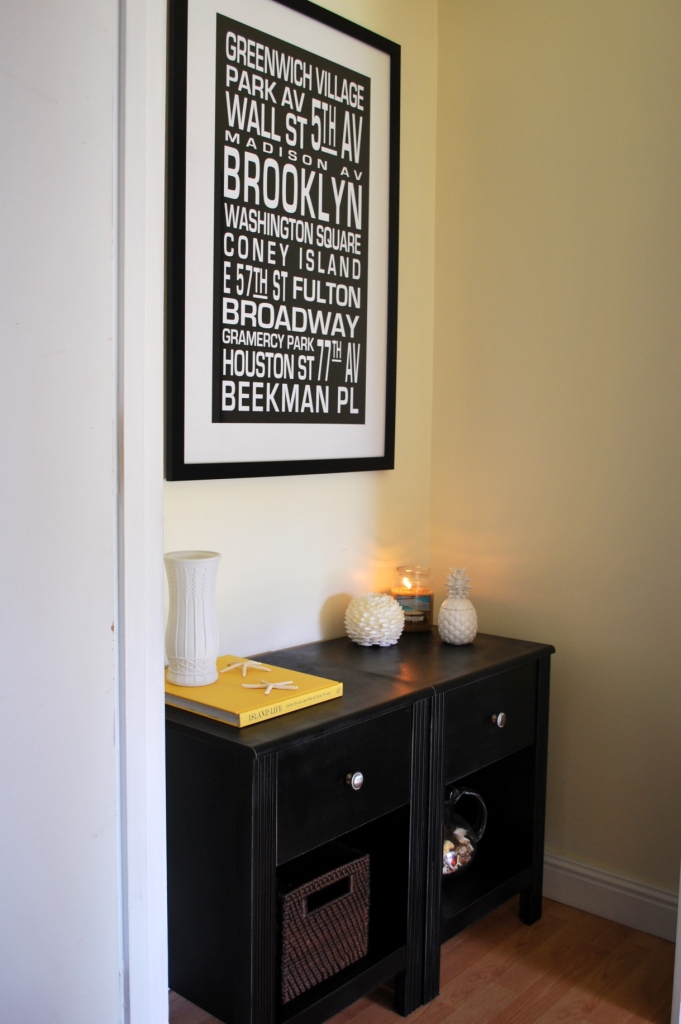
I placed the tables next to each other to create a little entryway console, where we now store our resusable grocery bags, extension cords, flashlights, etc. (The bookcase that we made over sits nearby, on an adjoining wall in our entry hallway). The print above the tables is from Z Gallerie; I wanted something that would cover the generously-sized breaker box eyesore on the wall. And even though we live in Hawaii, we like to honor our Brooklyn roots. 
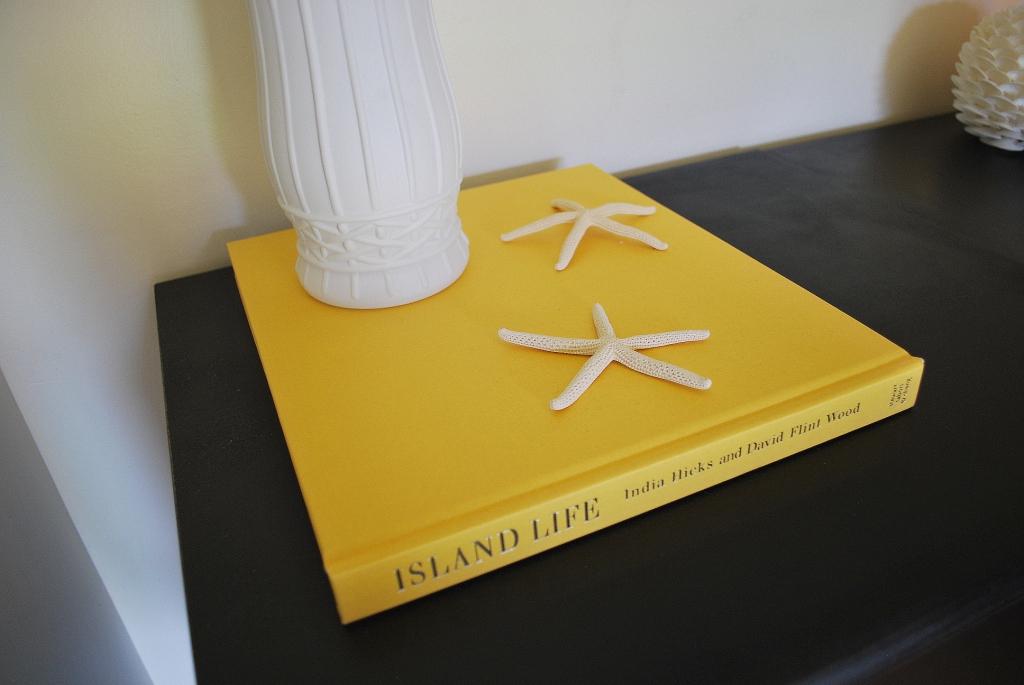
I styled the tables with some beachy accessories, a storage basket, and a cheap-o Goodwill vase that I transformed with flat white spray paint (LOVE doing this! So easy and makes anything look clean and crisp).
The whole project cost us only $28; 3 cans of spray paint for $21, and $7 for the hardware. Everything else we had in the house. I never thought I’d be happy to keep these tables, but you’d never get a hint of their hideous beginnings by looking at them now!


