Skip to content

New Year’s Resolutions

Happy 2013! A couple of years ago, in a whirlwind of celebration and possibly too many F. Scott Fitzgerald novels, I made a resolution to drink more champagne. That’s worked out pretty well:

champagne

(Gotta love being a member of the Chandon wine club.)

For 2013, my resolution is to write more, share more, create more. My first blog, Beauty Addict, was my favorite and most successful hobby. And while I’m not really down for nonstop posting about lipgloss anymore, I do miss blogging — the sharing, the interaction with readers, and how simply having an outlet for creativity tends to spark it.

Life has been pretty interesting these past few years. I moved from Brooklyn to Hawaii, got engaged, adopted a dog, got married, did a bunch of traveling, painted and re-made my husband’s bachelor pad, picked up some DIY skills, and learned to love my kitchen. And now we’re preparing for another move, back to the mainland, which will mean many more adventures in everything home-related.

The point? I think it’s high time that I dipped my toes back into the world of blogging. Follow along for a glimpse into what’s going on at our hearth-less (but champagne-filled) home!

overhauling the coffee table

This wood-and-tile coffee table had been in the apartment before we decided to turn it into a vacation rental, and had suffered some abuse at the hands of the previous tenants (not us!). We debated buying a new one or asking the owner to find one for us, but we both felt like it had some hidden potential…so I dragged it out into the carport and decided to get started on transforming it.

table before

detail before

I had already started sanding here, to see what I could do with the cigarette burns and scratches. I had this grand plan to sand down all the wood surfaces and stain them a gorgeous dark walnut, and then paint the tile creamy white with a glossy finish. But alas…

detail before_2

Oh snap! That’s either laminate, or the thinnest, crappiest veneer I’d ever seen. one quick pass with some sandpaper and it started coming right off. I was pretty surprised since the piece is super heavy…I wasn’t expecting hardwood, but there’s definitely real wood underneath so I was hoping for at least a decent layer of veneer. So much for the “dark walnut stain” plan. paint became the order of the day:

table after

I used some of the same materials as I did for the old laminate dresser: Zinsser BIN primer and off-the-shelf Behr Swiss Coffee paint in a flat finish. 3 coats with a little light sanding in between and I was good to go. The tile, however…well, I was afraid. The “grout” turned out not to be grout at all, but caulk of an unidentified nature. I wasn’t sure how well the primer or paint would stick to it. Turned out it was just fine (and I’m pretty sure now that it was latex caulk). The key was just to apply super thin, even coats, let them dry thoroughly, and lightly sand in between coats with some 220 grit paper.

detail after_1

I sealed all the wood parts with a coat of Minwax Polycrylic in satin, with an second coat on the top surface for extra protection. As with the dresser, water-based poly instead of oil-based is pretty important…the oil-based kind can yellow over time and muck up that crisp finish. The tile section got 3 carefully applied coats of gloss Polycrylic – with a light sanding in between – since I wanted a contrasting, shinier finish. Although I was super scared that I’d leave huge brush marks in the poly and mess the whole thing up, the tiles actually came out incredibly smooth and glossy! It’s hard to see the level of shine in the pics, but it looks like “real” tile again and you’d never know that it was painted.

detail after_2

Plus the whole piece is now resistant to damage from water, spills and whatever else might get thrown at it. Love it!

refinishing a sad old laminate dresser

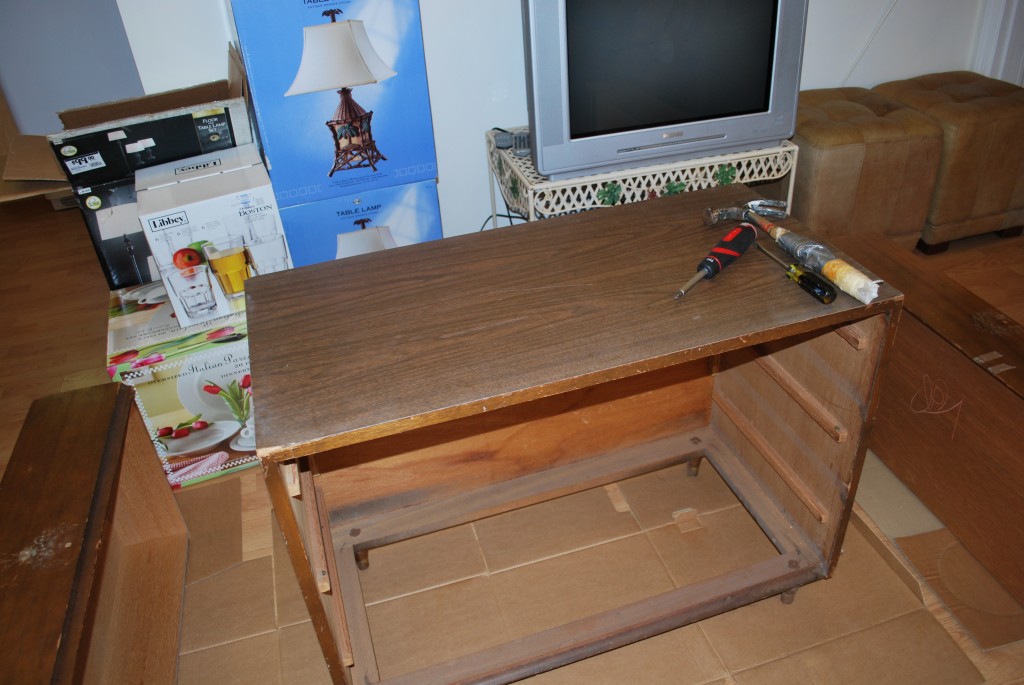
The very first furniture project I tackled for the Hideaway was this laminate dresser that had definitely seen better days. The owner (we manage the property and live next door; he owns the place) dropped it off when I added dressers to the list of “must-haves” for the bedrooms. I took one look and knew it was going to be my next project. John was practically in the car already to head to Home Depot for supplies…he knows me well.

dresser_before

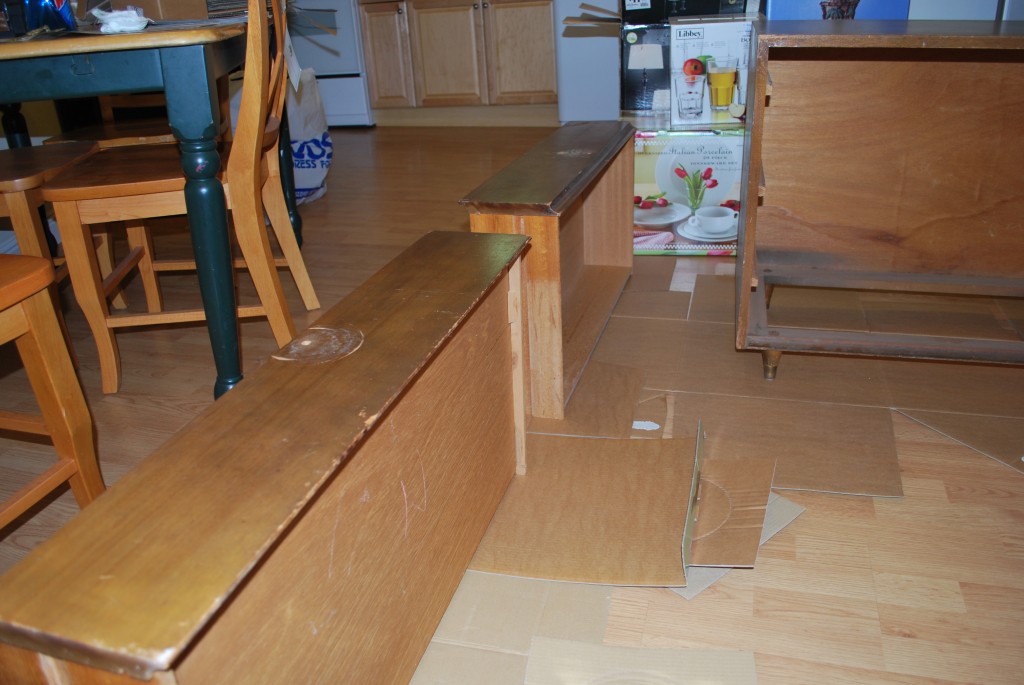
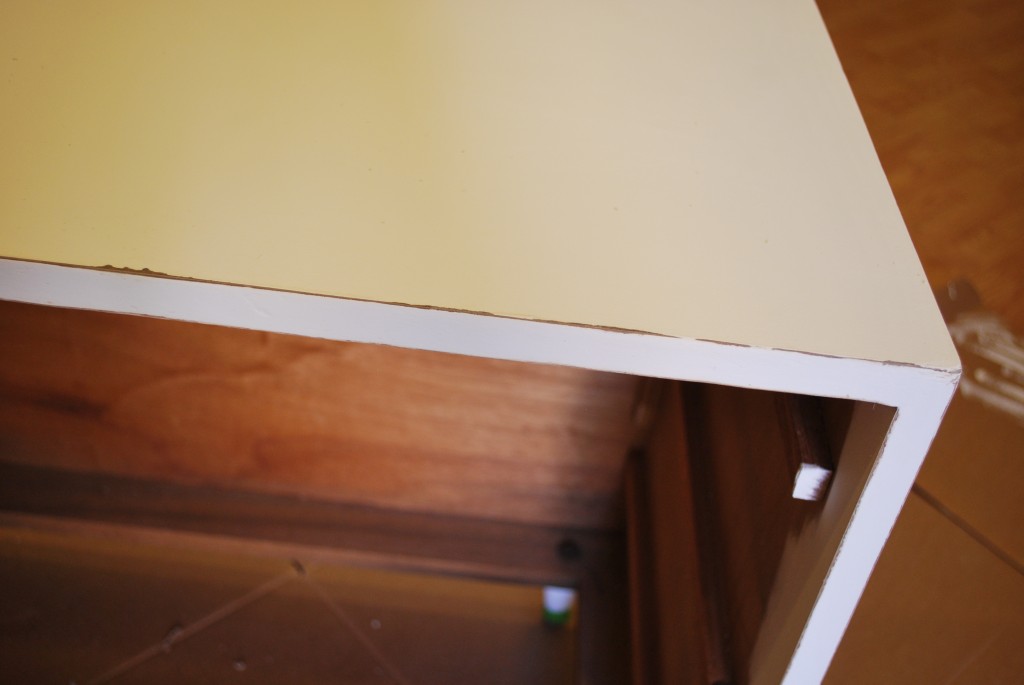
The drawers were looking pretty gnarly…all scratched up from the hardware getting loose. And in one area, the material was held together with glue and scotch tape!

drawers_before

The old brass hardware was looking pretty sad; I decided to remove them, clean them and spray paint them oil-rubbed bronze (I used Rust-Oleum Universal spray paint in Oil Rubbed Bronze, which is FANTASTIC). Obviously, this is the before shot:

hardware

Since the dresser was laminate, not veneer or hardwood, I couldn’t just sand it down and stain it…the sanding would have totally removed the top layer and ruined the piece. So I decided to go for a vintage, casual beach house vibe with some creamy white paint.

First I sanded down the scratches, dents and rough edges, and then went over every surface really lightly, by hand, with some fine grit sandpaper. After cleaning up the dust, I applied a coat of Zinsser BIN primer with a small foam roller. I learned about this primer when researching how to refinish laminate furniture, and I LOVE IT. It sticks to laminate even without sanding, and since it’s alcohol/shellac-based, it’s completely dry in 45 minutes.

When the primer was dry I lightly hand-sanded just to make sure there were no bumps or bubbles, and then moved on to paint. I used Behr Swiss Coffee in flat, an off-the-shelf color I picked up at Home Depot. It’s a nice creamy white, just barely off-white and not too bright. It took 3 coats to get a perfect, even, saturated finish, but with the foam roller it was done in no time.

The next morning I grabbed my electric sander and decided to add some distressing to the edges for that rustic beach cottage look. One quick pass over all the edges and it was just the way I wanted it!

detail_1

To finish it off, I coated the piece with Minwax water-based Polycrylic in Satin. Regular oil-based polyurethane will amber or yellow over time, so for white/light-colored projects, water-based poly works better. This was my first time using spray poly, and by the second drawer I really got the hang of it. Easy! Just use even strokes that overlap slightly, keep the can moving, and start spraying BEFORE you get near the piece, to minimize any bubbles or blobs that can sometimes happen. I ended up using 3 thin coats of the spray poly, with a little light sanding in between, for a perfectly smooth, nicely-protected surface.

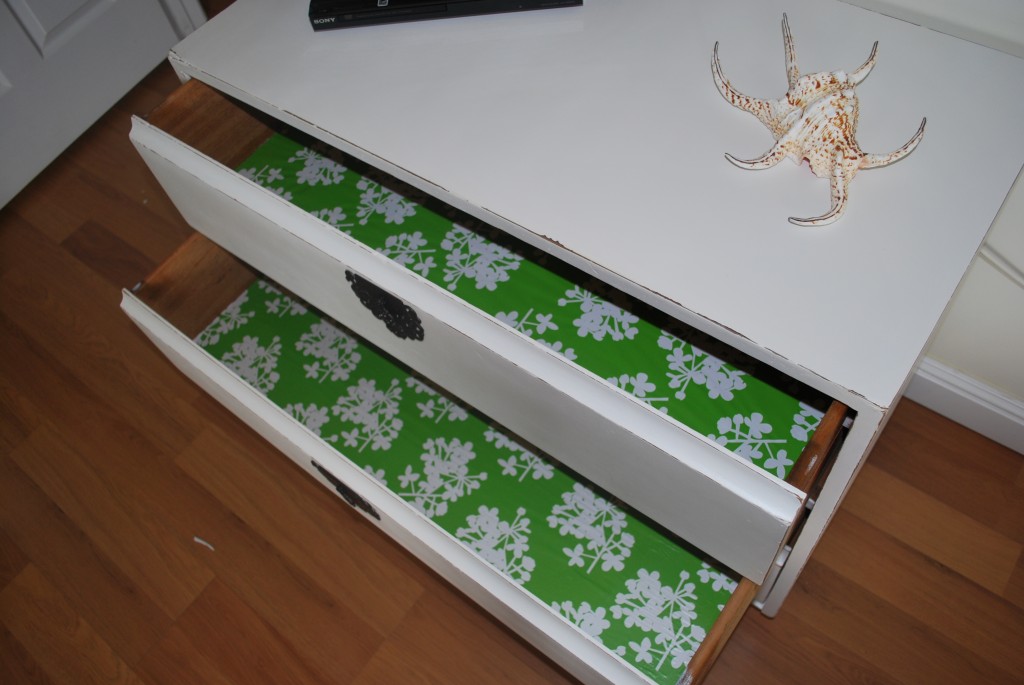
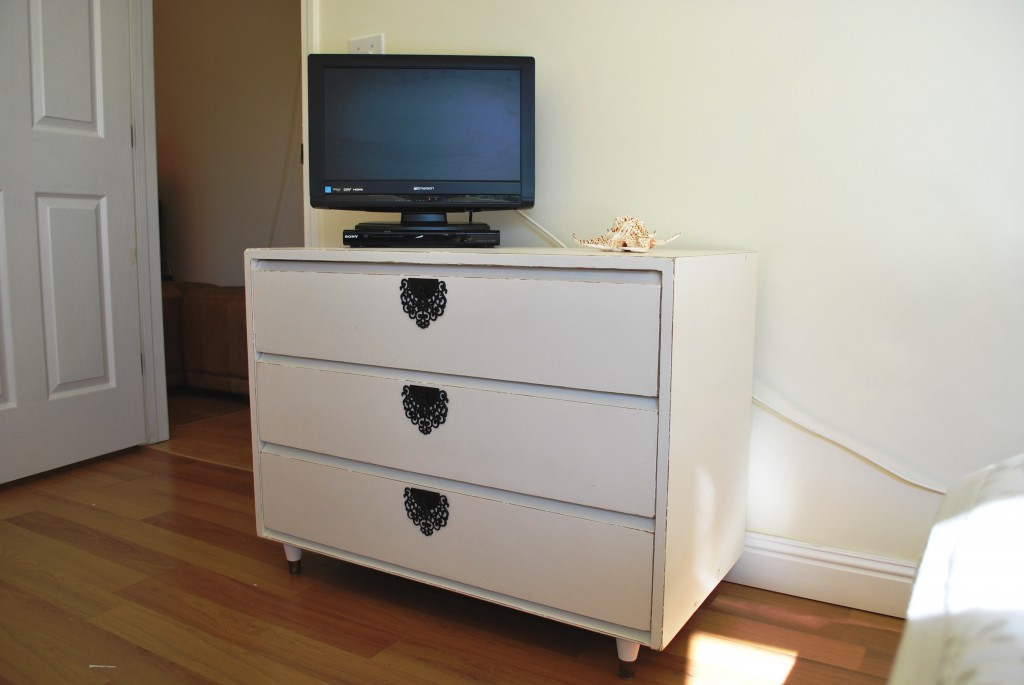
Here’s the finished product in the master bedroom. I love the way the hardware came out!

after_1

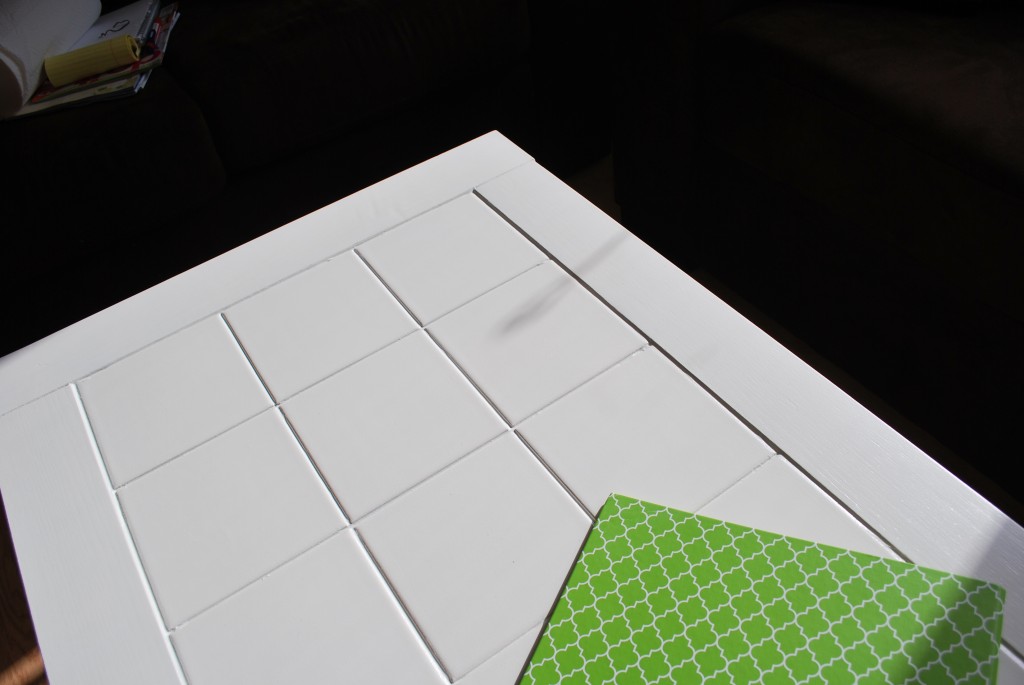
I even lined the drawers in a retro-looking green print wrapping paper to round out the whole vintage beachy vibe I was going for:

after_2

Related Posts Plugin for WordPress, Blogger...